In the studio today we practiced setting up lighting, we found that even if you were a tiny bit of the style of lighting you were going for doesn’t work. Some lighting styles took longer than others but here are 4 examples of 4 different lighting styles. Along with my previous research.
Split Lighting: Split Lighting is created when the light only shines on half of the subjects face. You can create this affect by moving the light almost exactly in line with the subject. I found that if you pull the light about 1-2 inches behind the subject then it is easier to capture just one side of the face.

Loop Lighting: Set your light up about 30-45 degrees away from the center of your subject and raise the light about 1 foot above your subject and angle it downwards. Loop lighting set up creates a small loop by the subjects nose and is commonly used in portraits.
Butterfly Lighting: Your light needs to be directly in line with your subject. Raise the light up above the subject about 1.5 feet and angle downwards. I found that if I knelt in front of the subject to take the photo it created better butterfly lighting because I am not making the subject look up towards the light.

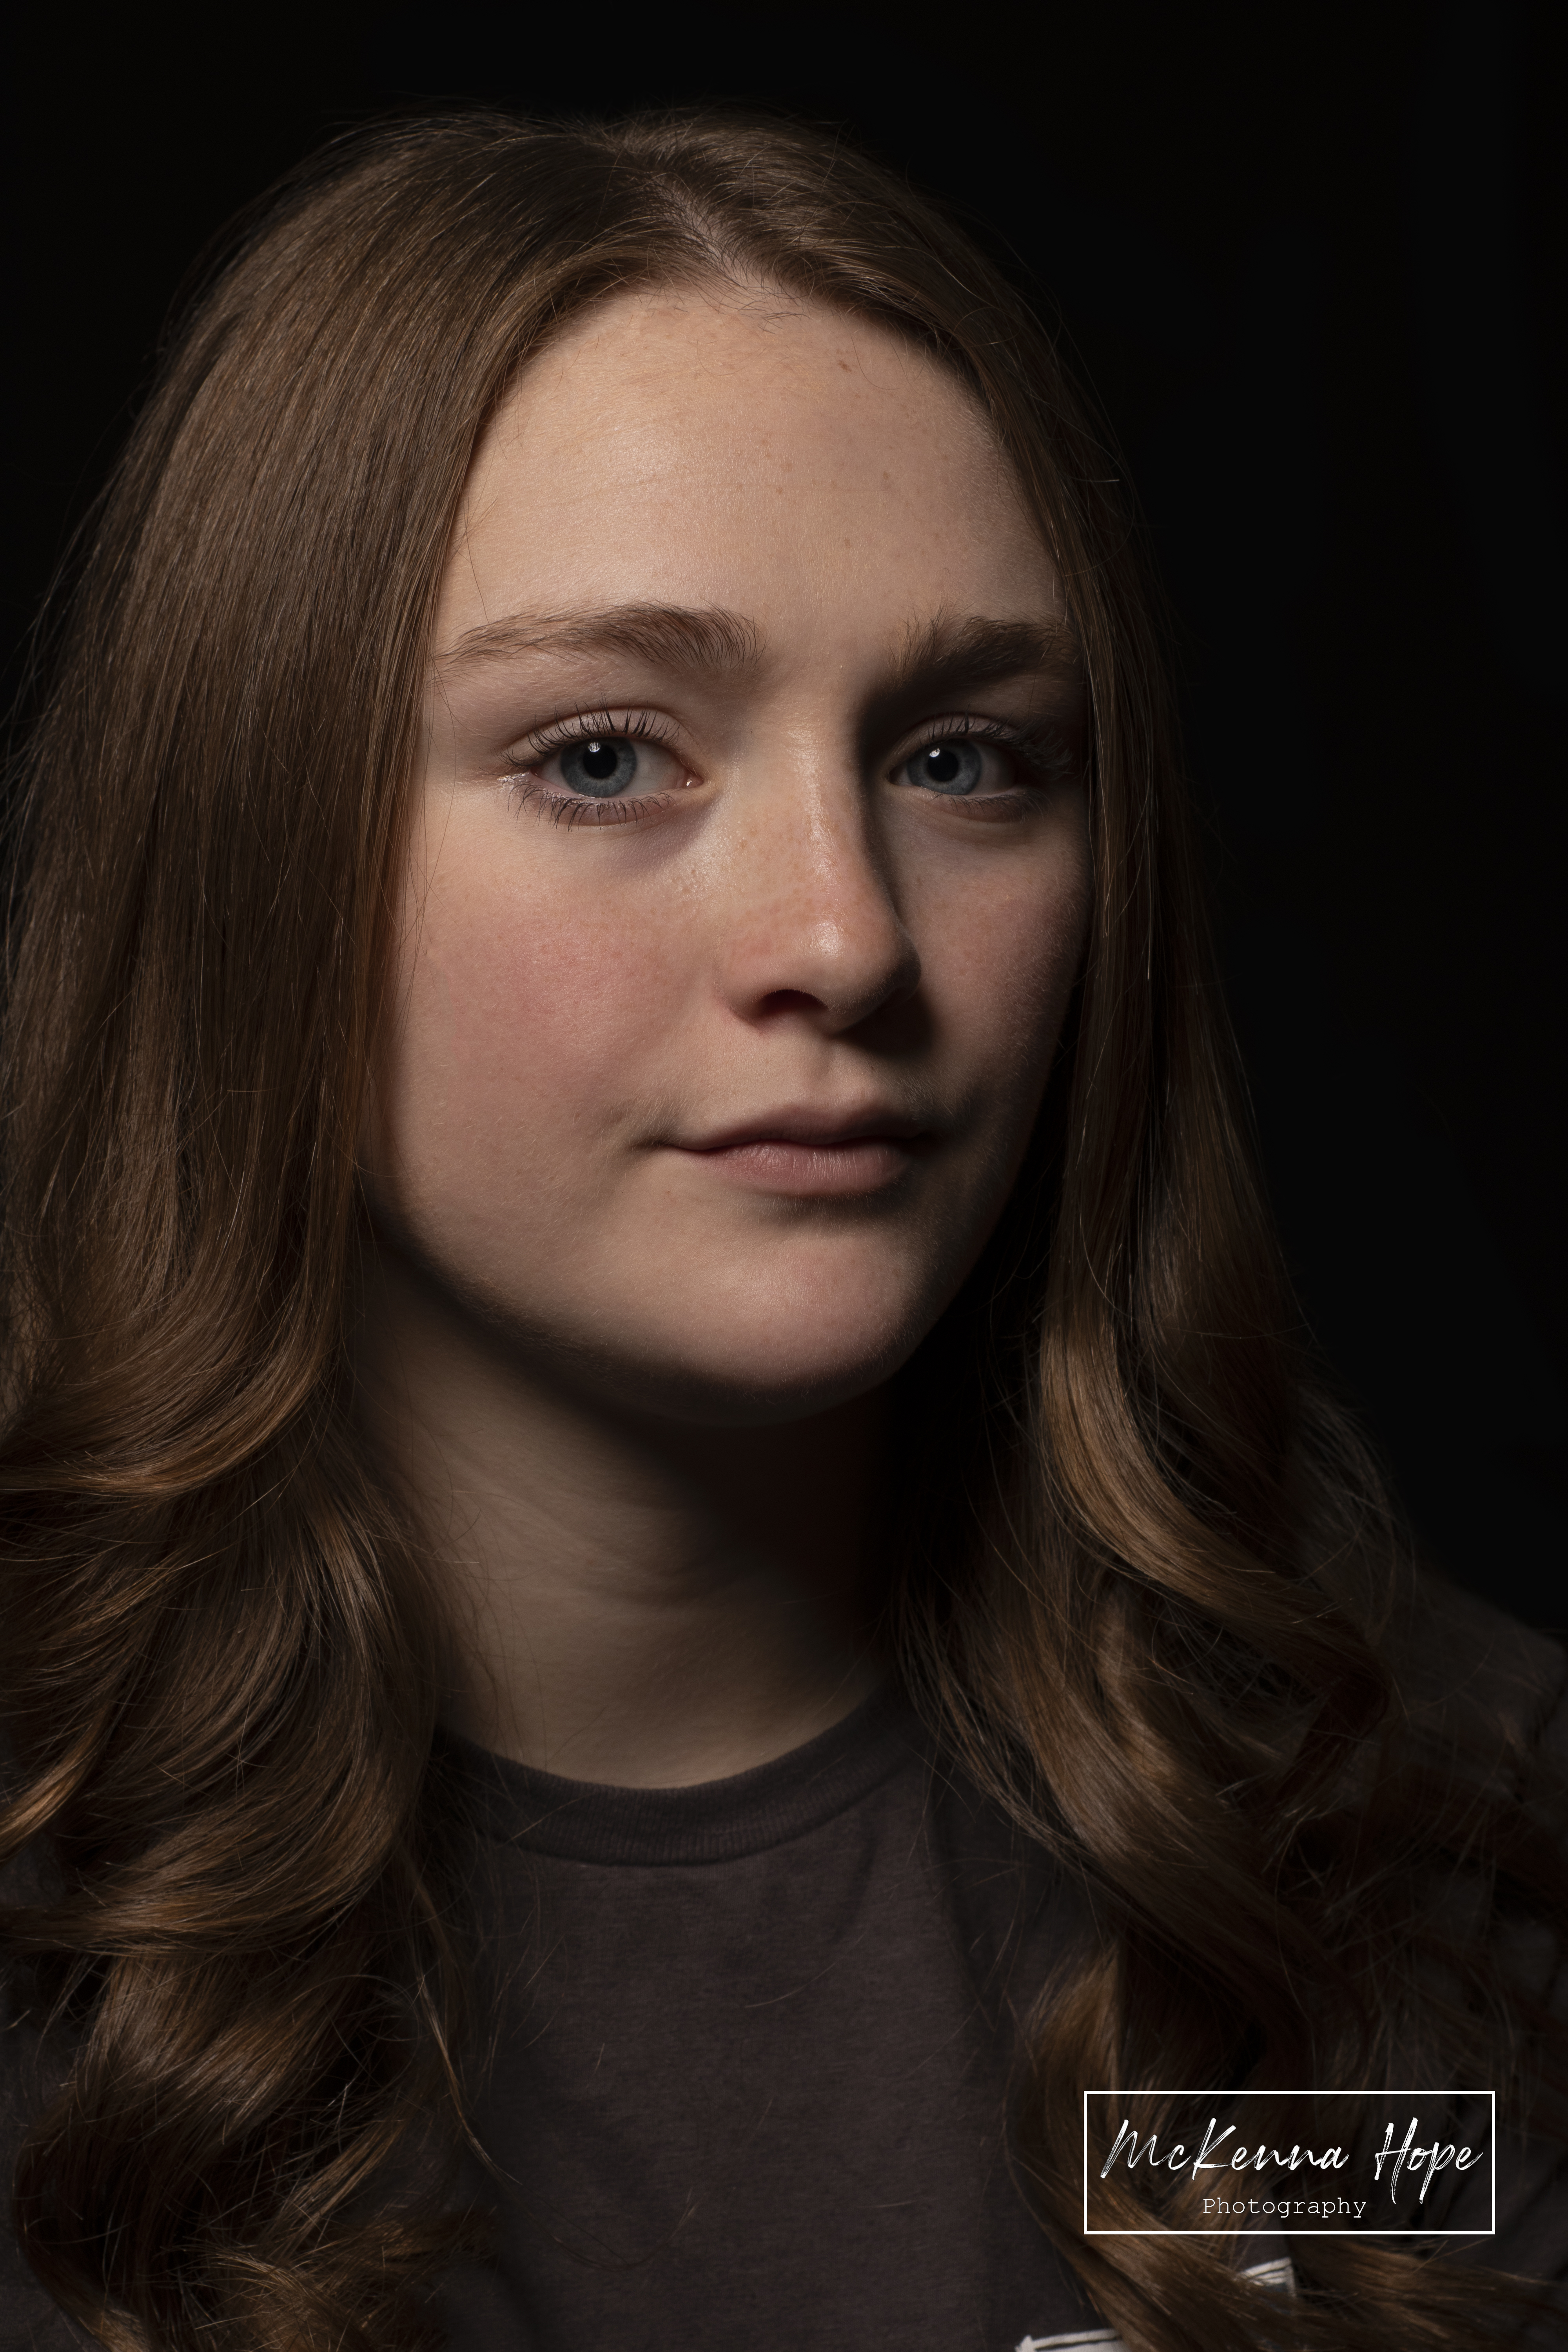
Rembrandt Lighting: Rembrandt is a lighting technique that creates a triangle on your subjects cheek. Using the loop lighting set up we simply moved to the opposite side of the subject (her left our right) and took the picture vs when loop lighting is going to be on the other side (her right our left.

