Well I have made it to the end of my high school career, that also means this is my final top five for the school year so here are 5 of my favorite pictures I have taken this last semester.


Well I have made it to the end of my high school career, that also means this is my final top five for the school year so here are 5 of my favorite pictures I have taken this last semester.
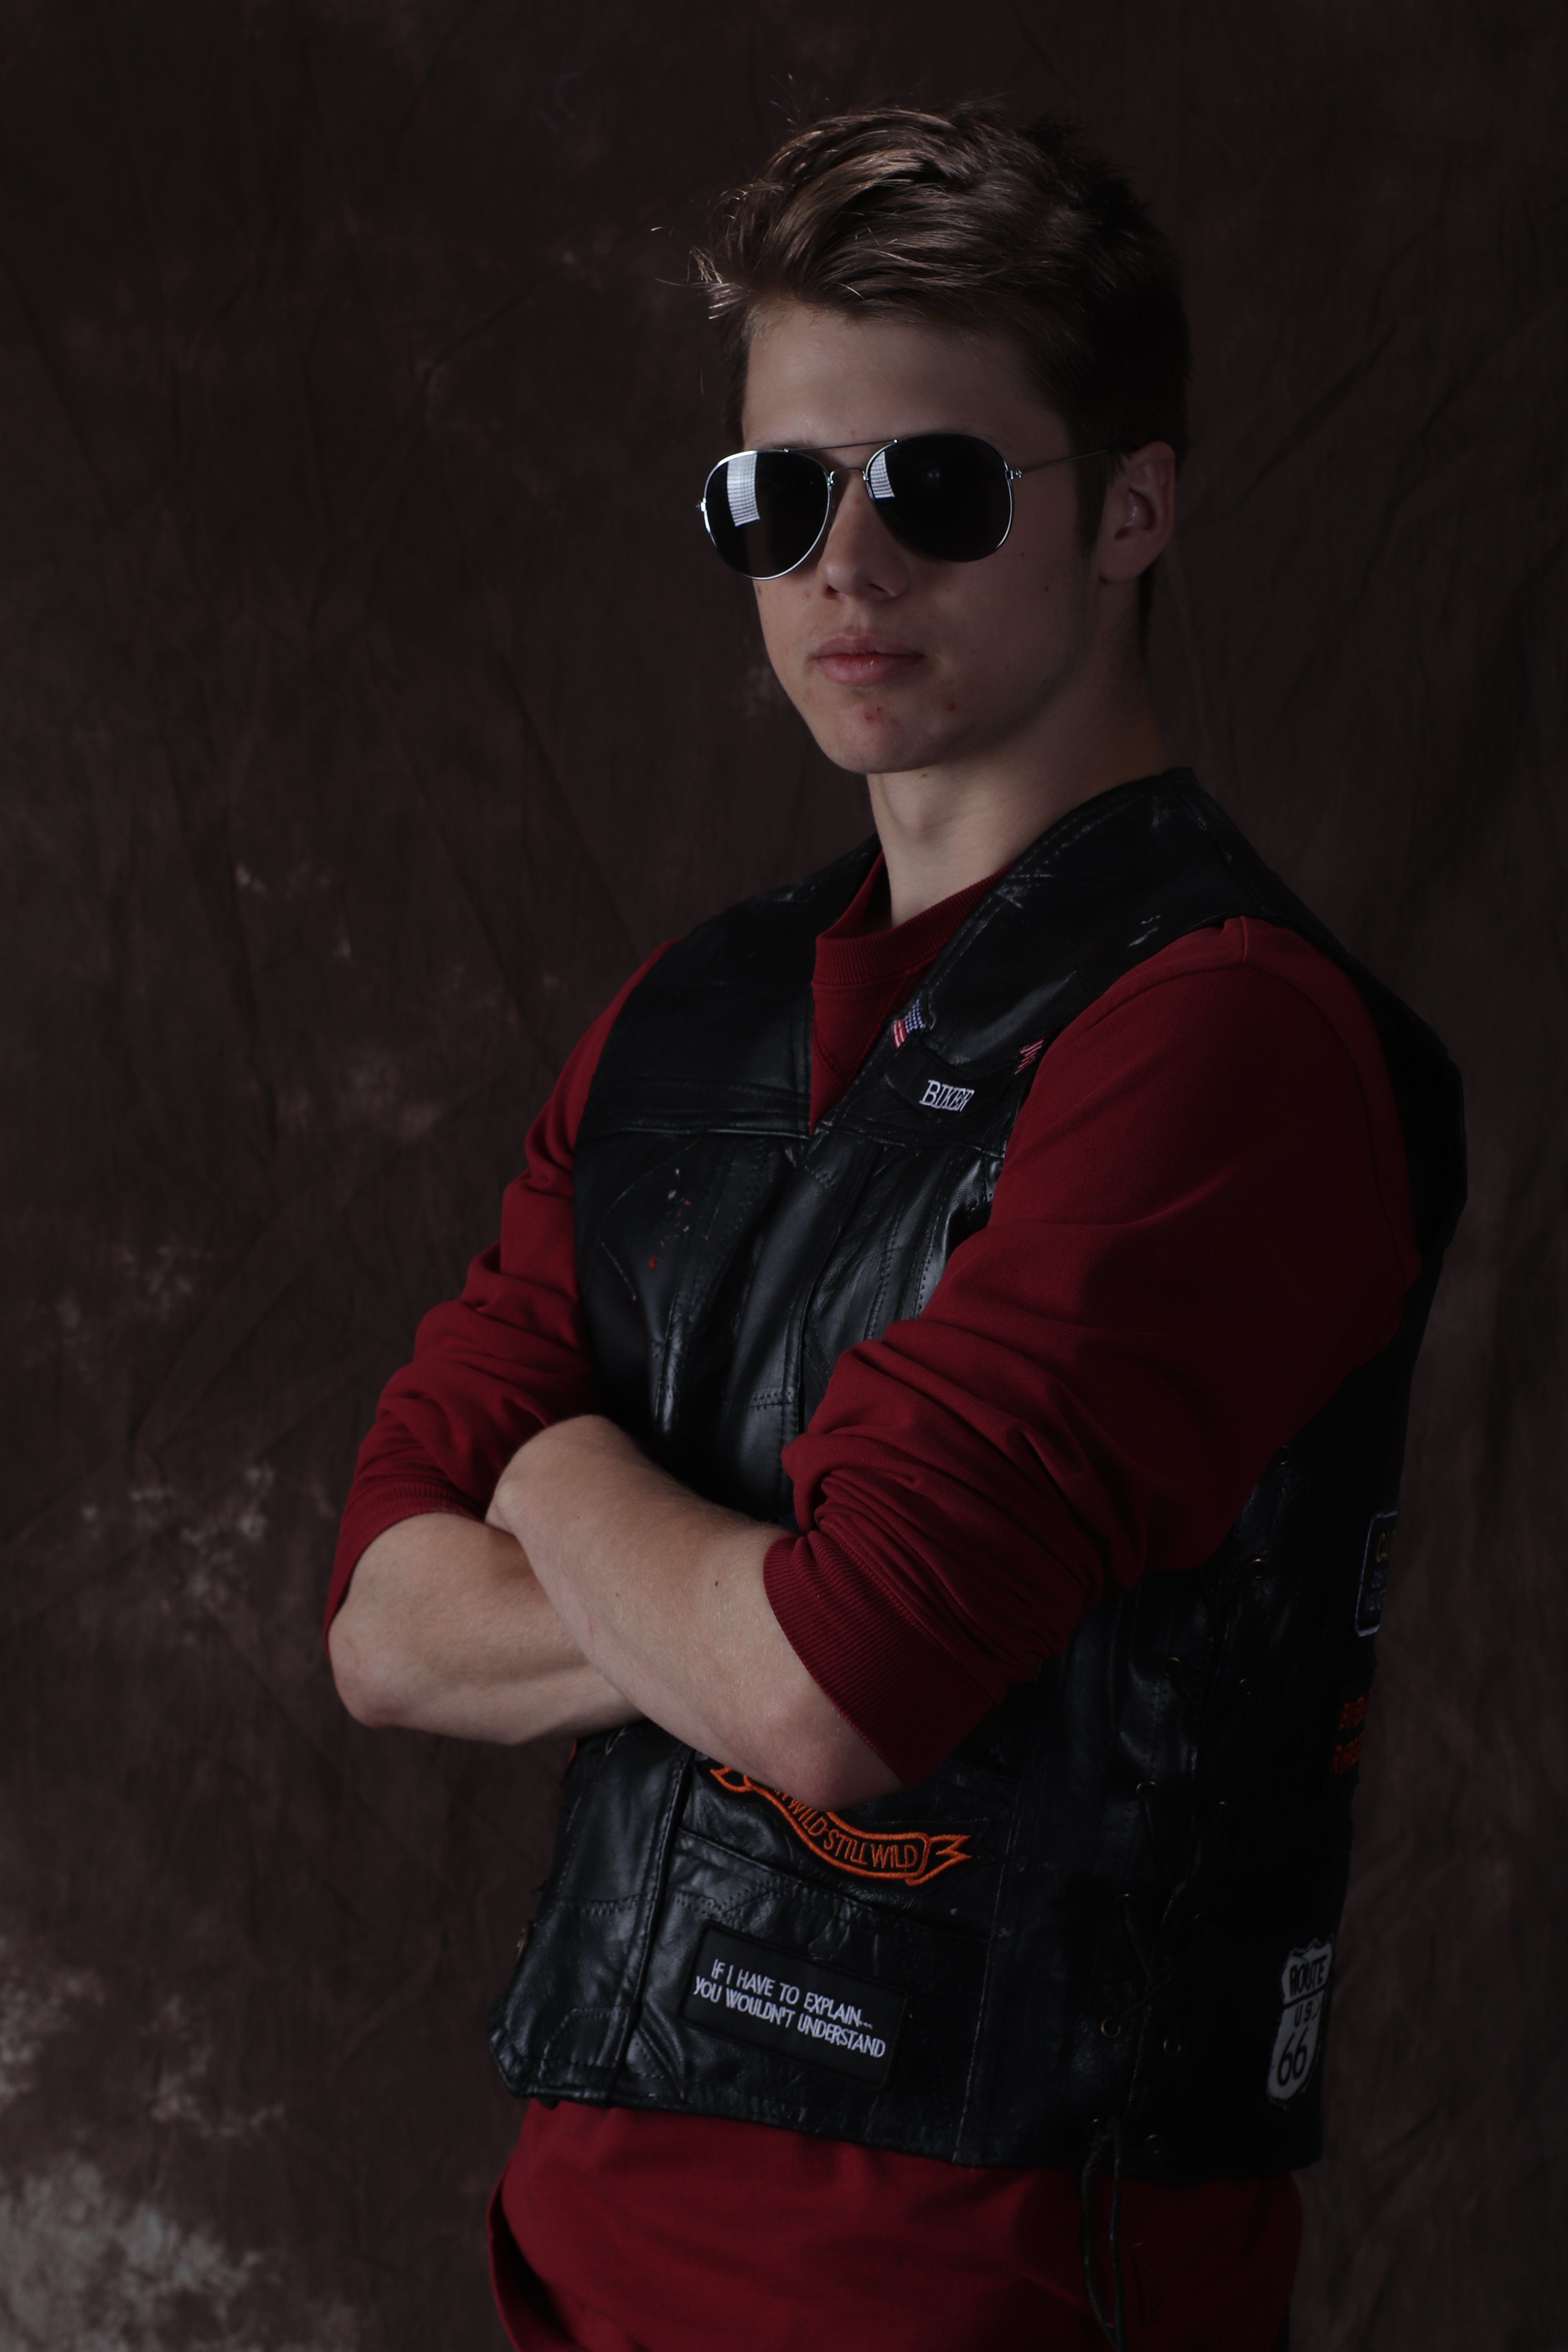
We had a fun day in class, we got to go to our schools theater closet and pick out costumes and just have fun modeling in them.

In the studio today we practiced setting up lighting, we found that even if you were a tiny bit of the style of lighting you were going for doesn’t work. Some lighting styles took longer than others but here are 4 examples of 4 different lighting styles. Along with my previous research.
Split Lighting: Split Lighting is created when the light only shines on half of the subjects face. You can create this affect by moving the light almost exactly in line with the subject. I found that if you pull the light about 1-2 inches behind the subject then it is easier to capture just one side of the face.

Loop Lighting: Set your light up about 30-45 degrees away from the center of your subject and raise the light about 1 foot above your subject and angle it downwards. Loop lighting set up creates a small loop by the subjects nose and is commonly used in portraits.
Butterfly Lighting: Your light needs to be directly in line with your subject. Raise the light up above the subject about 1.5 feet and angle downwards. I found that if I knelt in front of the subject to take the photo it created better butterfly lighting because I am not making the subject look up towards the light.
Rembrandt Lighting: Rembrandt is a lighting technique that creates a triangle on your subjects cheek. Using the loop lighting set up we simply moved to the opposite side of the subject (her left our right) and took the picture vs when loop lighting is going to be on the other side (her right our left.

In class we all dressed up formally for a studio photo shoot. I really enjoyed this day it was fun to dress fancy and pose people. I got a couple shots that I really loved it was hard though because there are a lot of people in my class so one of my favorite shots is actually one where the lights malfunctioned but I actually loved it.


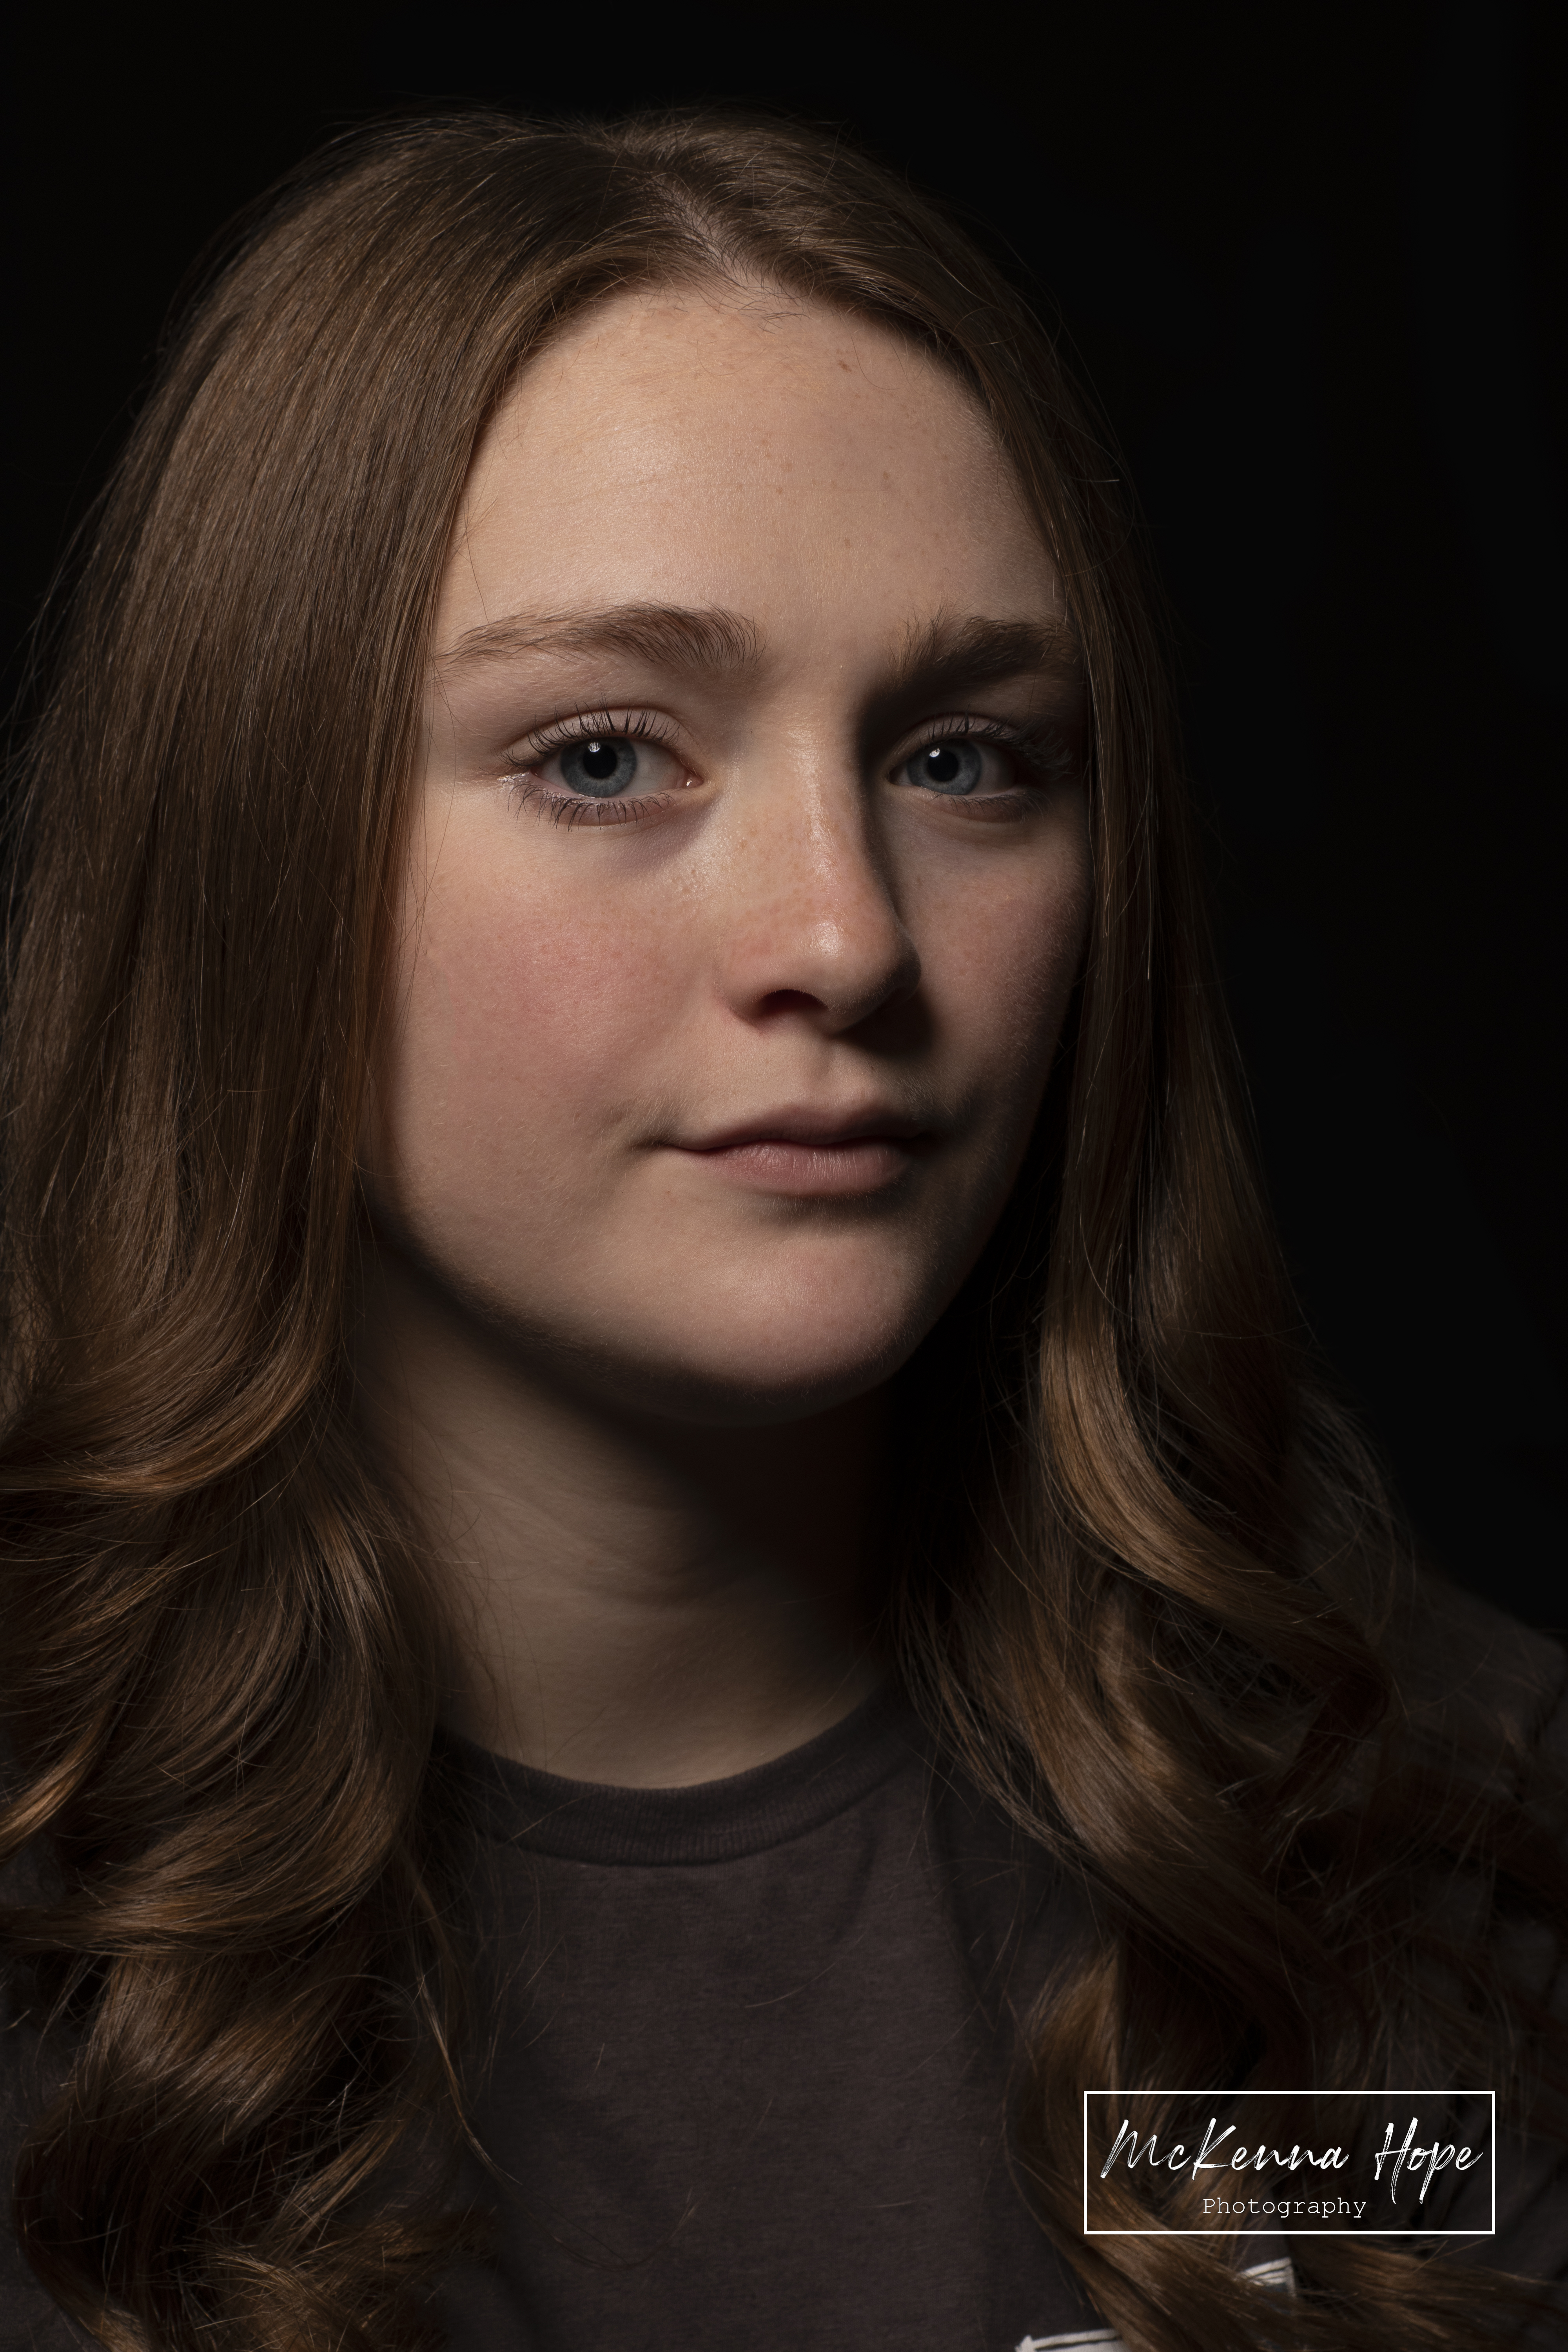
Chiaroscuro is a lighting technique that has been used for hundreds of years and it started in paintings. Chiaroscuro is Italian for Light and Dark this technique is used for very serious and dramatic photography. Using a flash in a studio I positioned my model so that the light would only hit half her face, it took a few tries to get it positioned correctly. Start with a black background and positing your model how you want, then turn the lights out in the room to test where the flash is hitting, once you position the light how you would like start taking pictures. I took my pictures in a completely dark room, I had an assistant shine a flash light on the models face so I could focus once focused we turned it off and took the picture. I took about 50 pictures to get 6 good ones, here is my personal favorite.

I love taking portrait pictures of people. There is just something so special about capturing a smile forever. To add to portraits you can make them black and white it is easier to make people the ideal focal point when your picture is black and white.

Colors play a lot to the appeal of a photo, for this post I took a photo with some bold complementary colors in it and to add to it I “antiqued” the photo to look like it was taken on a film camera.
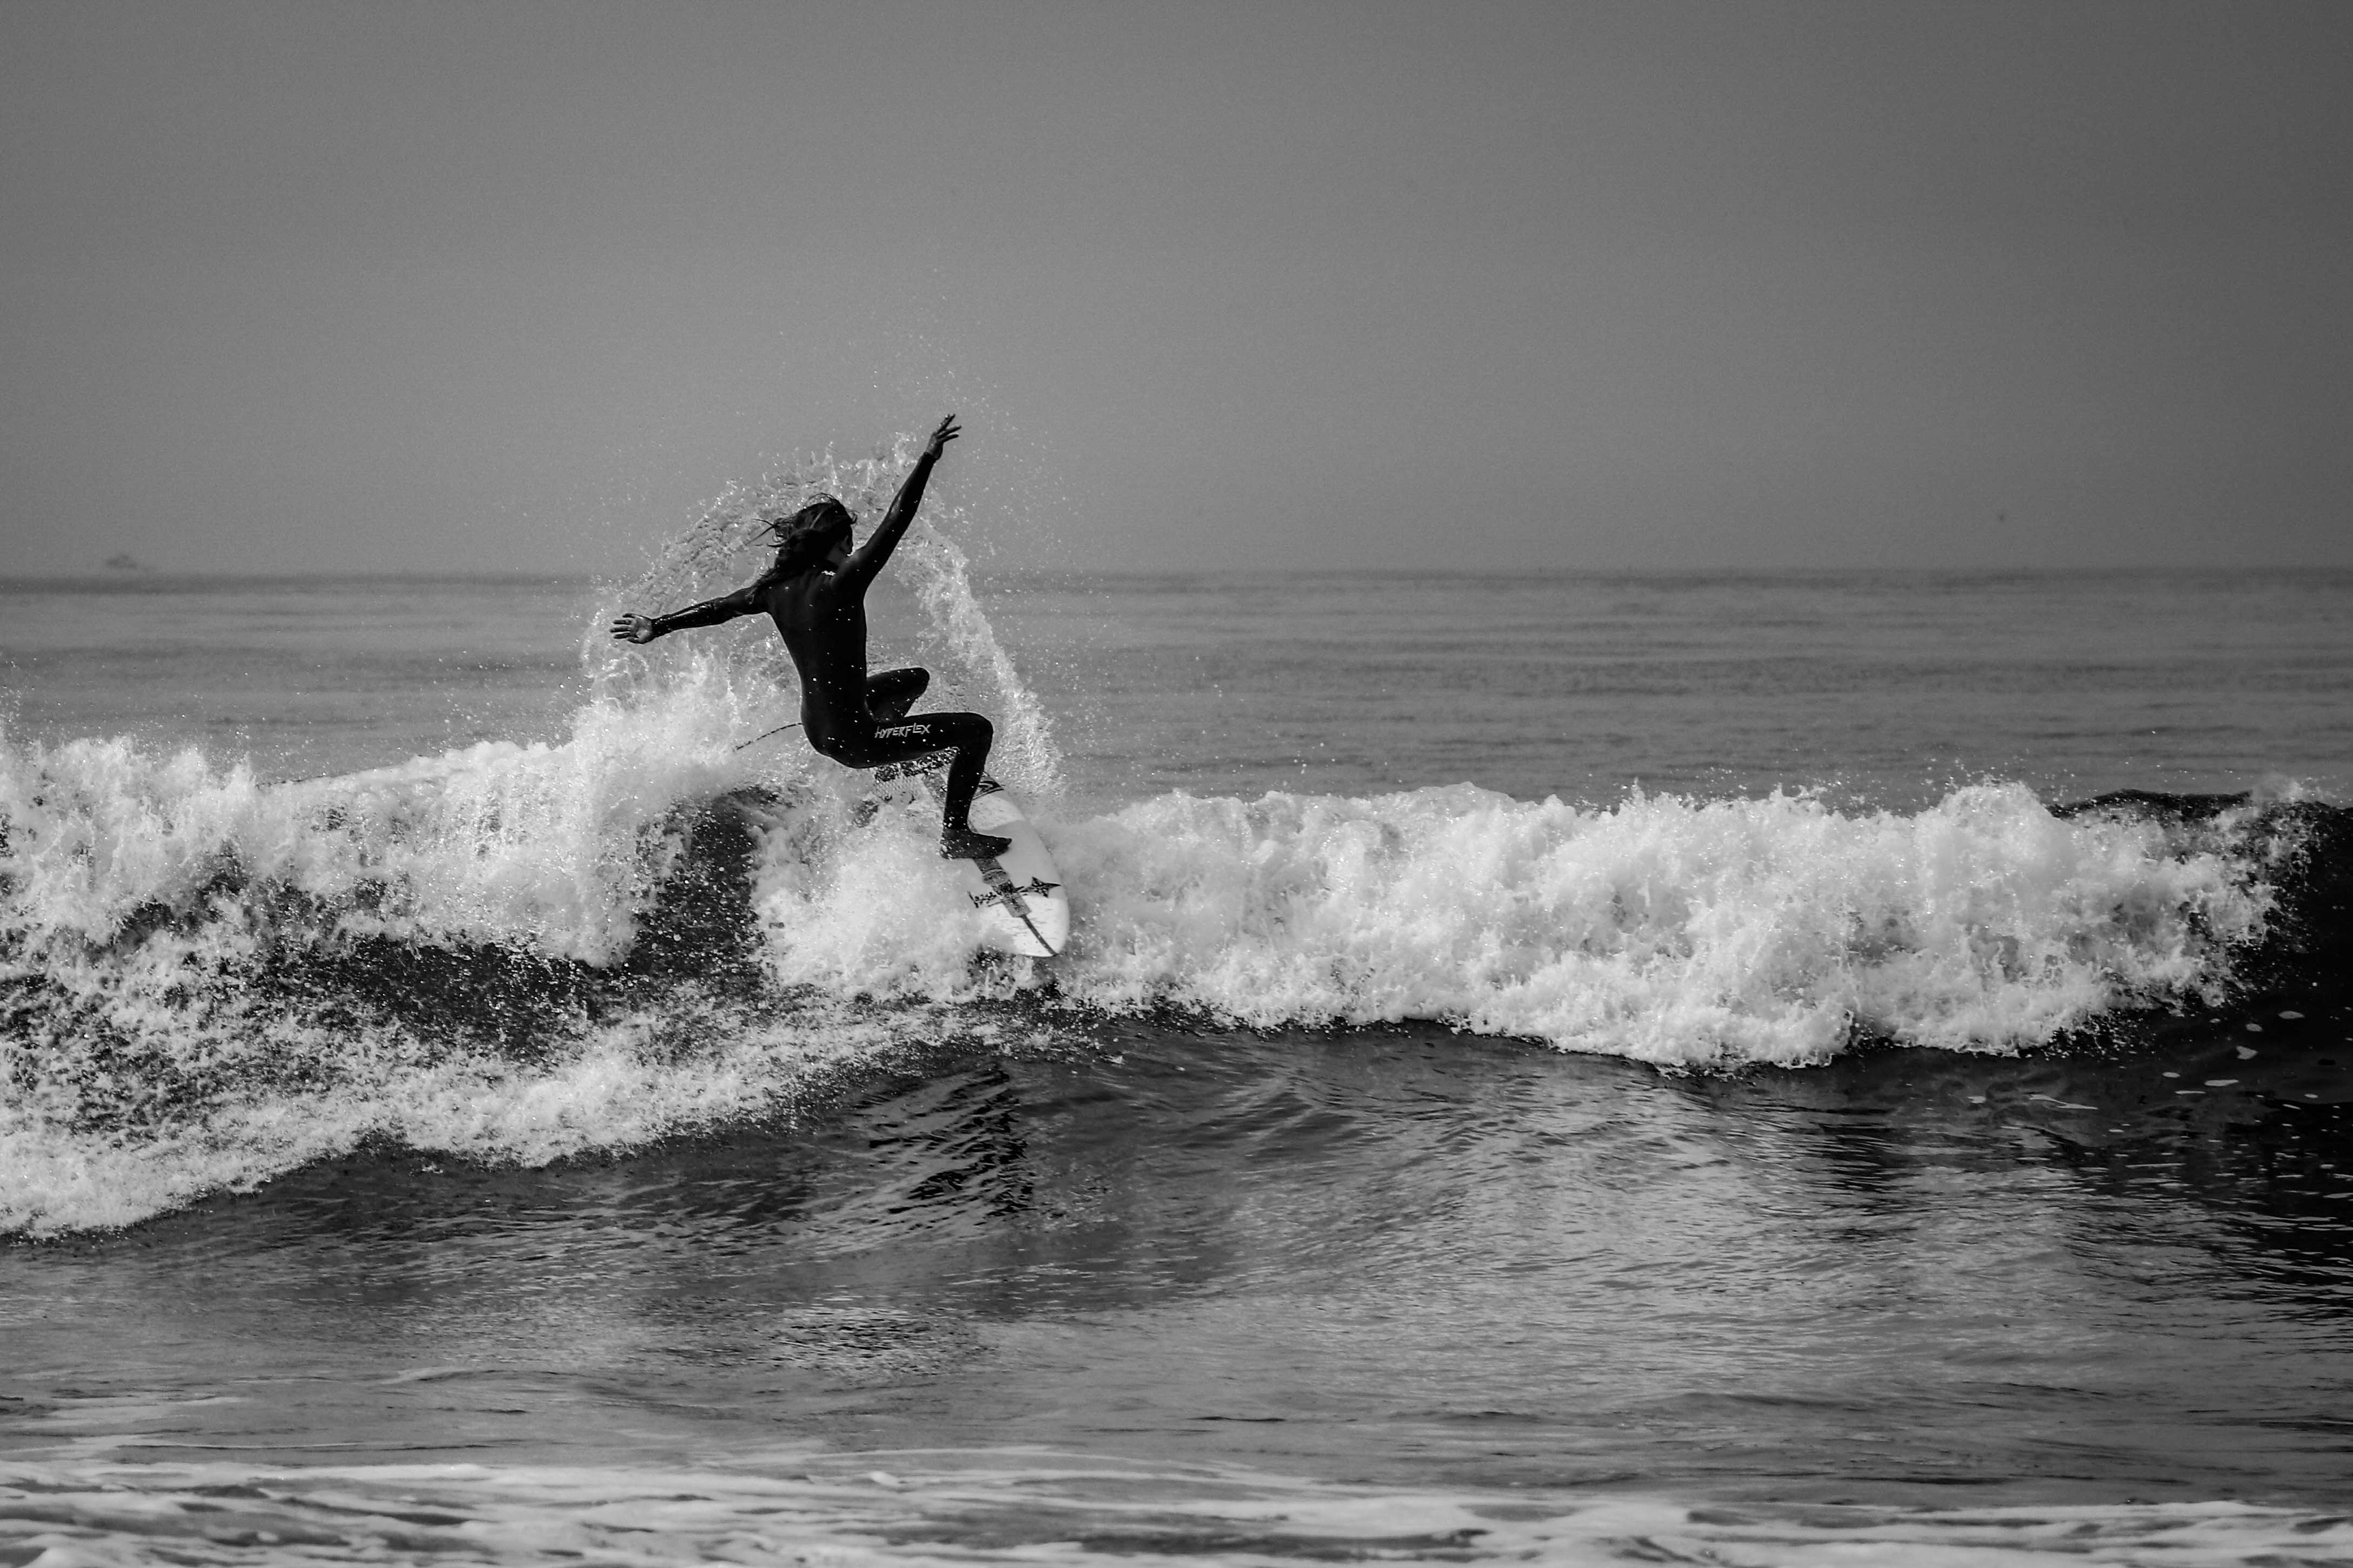
For this assignment we were asked to take a black and white photo that is a non-portrait. I was in California and took my camera to the beach to photograph surfers. It was rather uneventful till this one surfer showed up, he was really good and I caught a couple pictures of him and this one was my favorite.
Recently we have been using the studio at school to practice product photography. I have enjoyed this its kinda fun if you can get your object to look right. I used a light box on the flower and the camera and then for the shoe I used studio lighting. Light box is like a mini studio which is awesome if you don’t have access to a studio.
Studio Light:
Light Box:


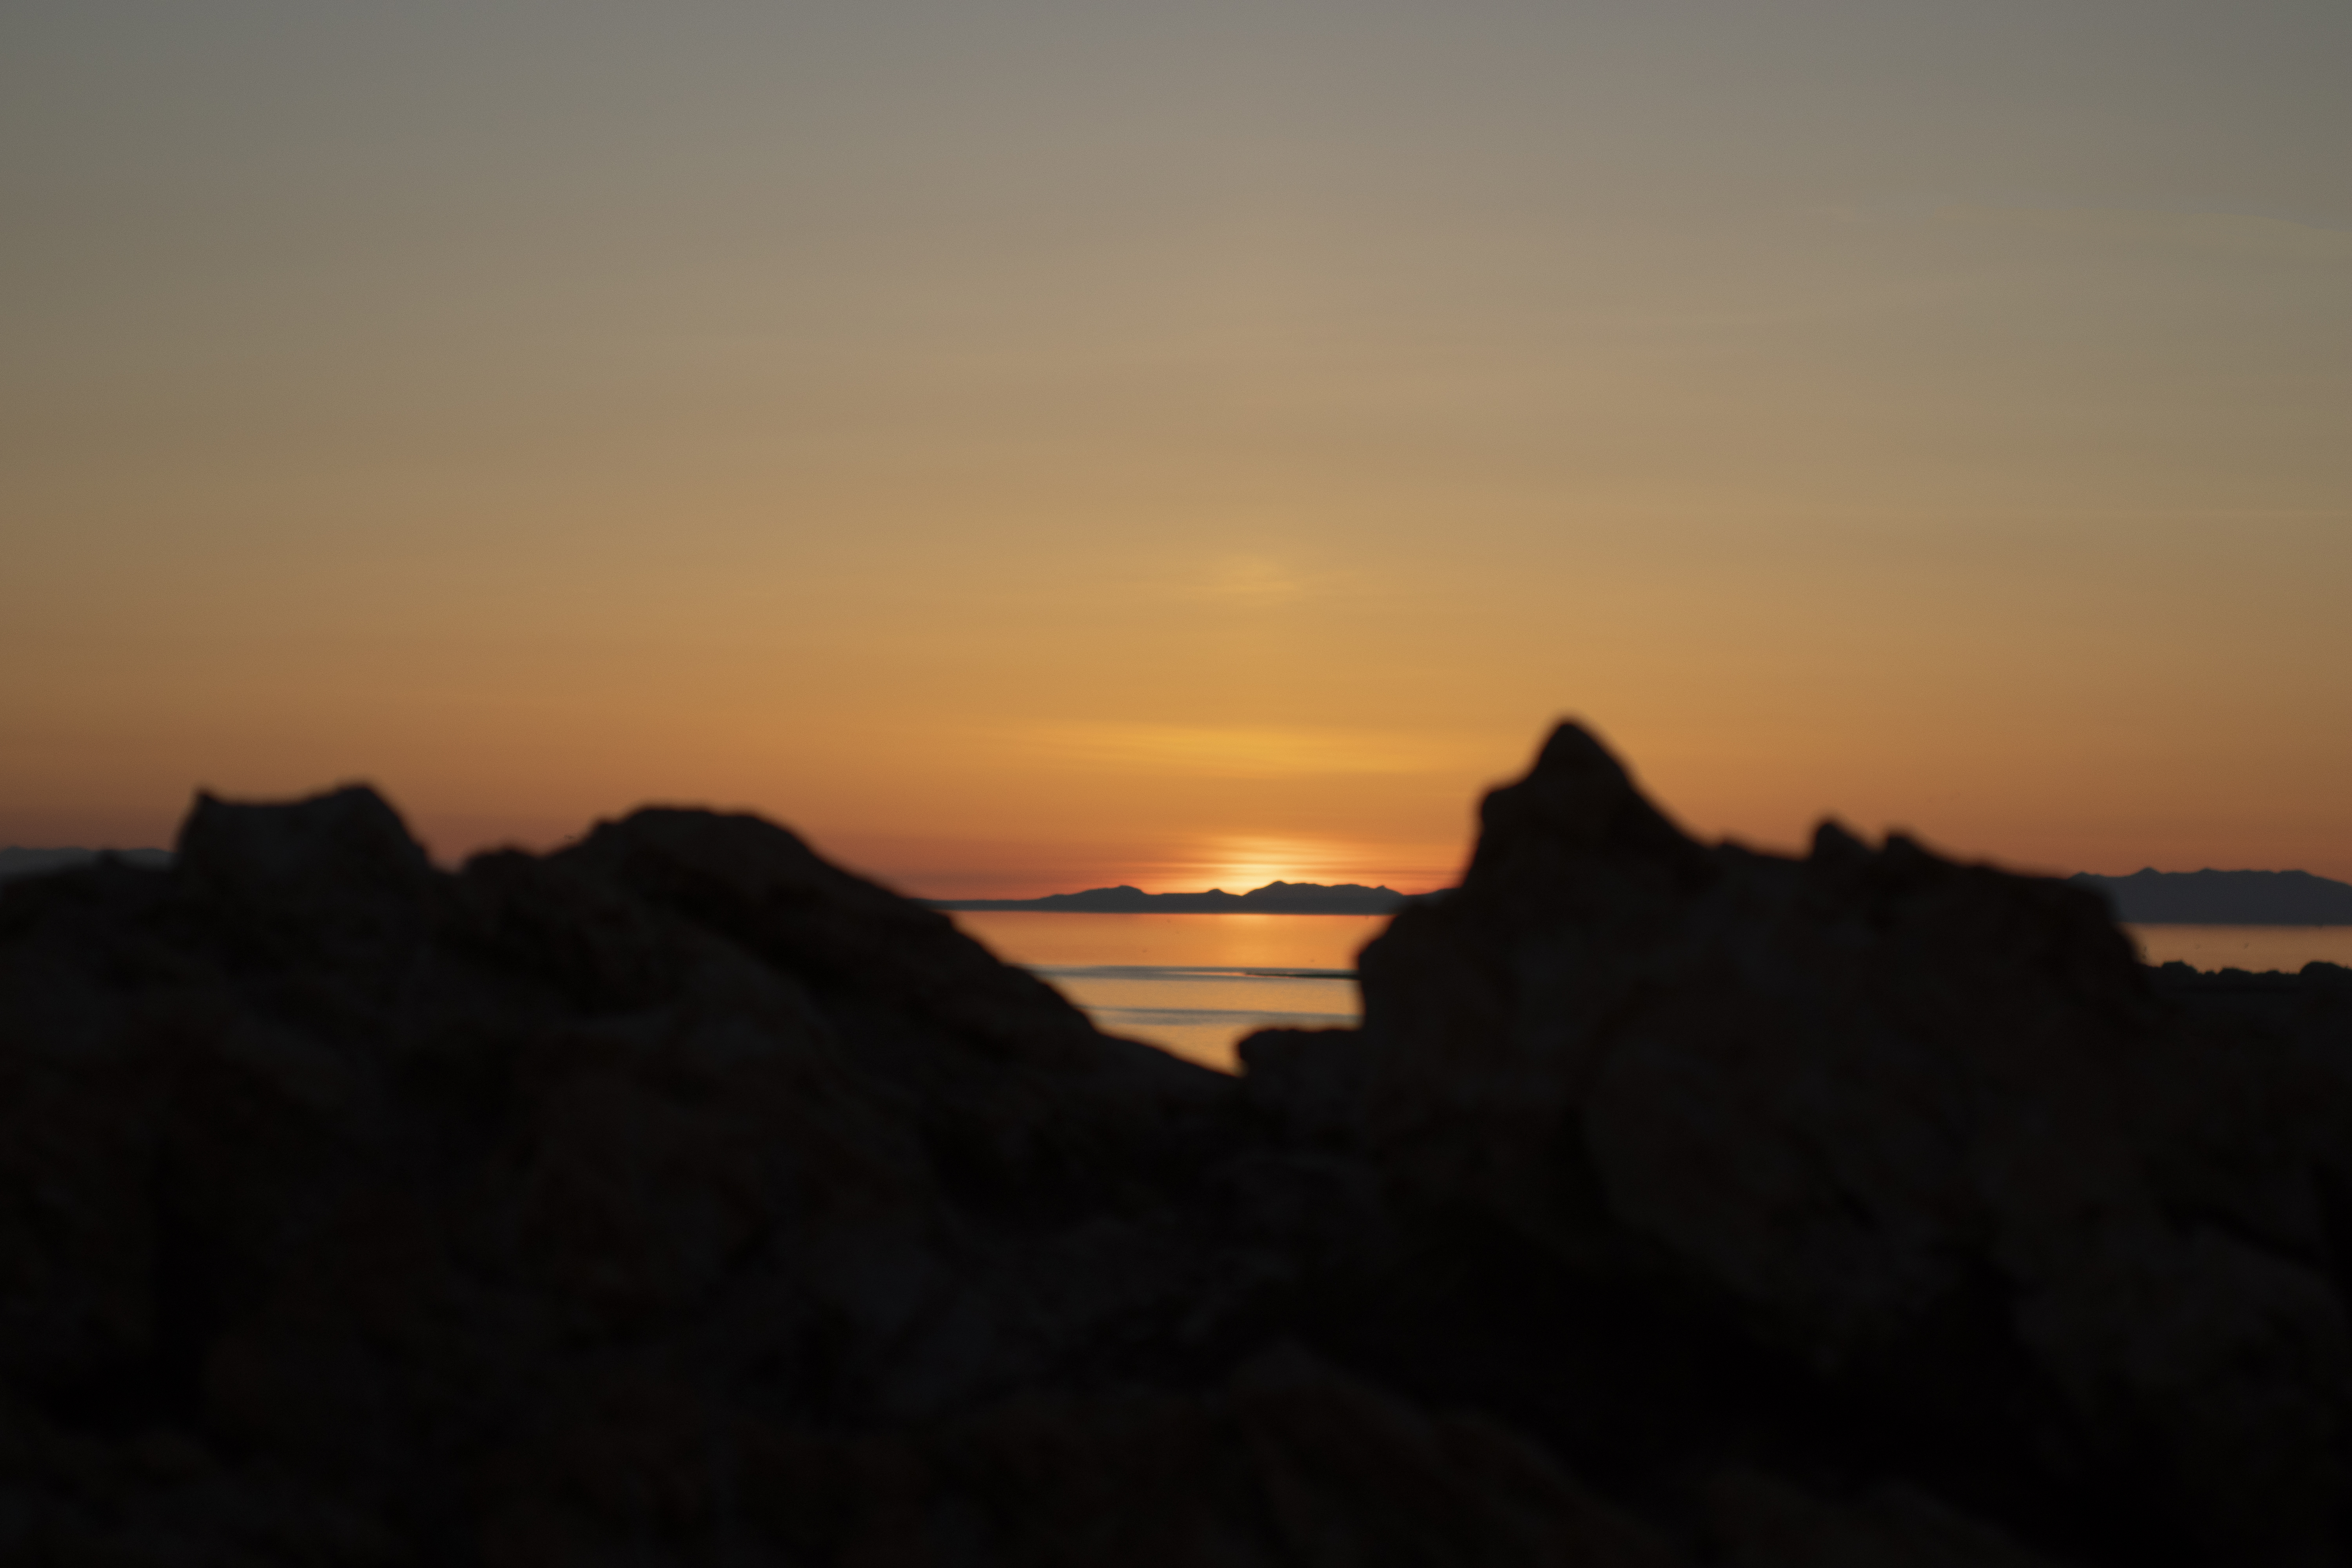
Landscape photos can be powerful and beautiful to look at, some key things to think about while taking them are leading lines, composition, and scale. Idolize your leading lines to move the viewers eyes around, rule of thirds isn’t always ideal for these photos choose whats more important for you to capture and place it how you feel best and lastly your scale can change everything some photographers use people to show how big their landscape photo is. I recommend using a wide angle lens to capture as much as possible.
Today we got to choose how we wanted to edit our photos. We were supposed to choose two but I tried 3, Dark Cinematic Effect, Facial Enhancement and Softening, and Retro. I am really please with how all of these turned out!
Facial Enhancement:

Retro:

Dark Cinematic Effect:

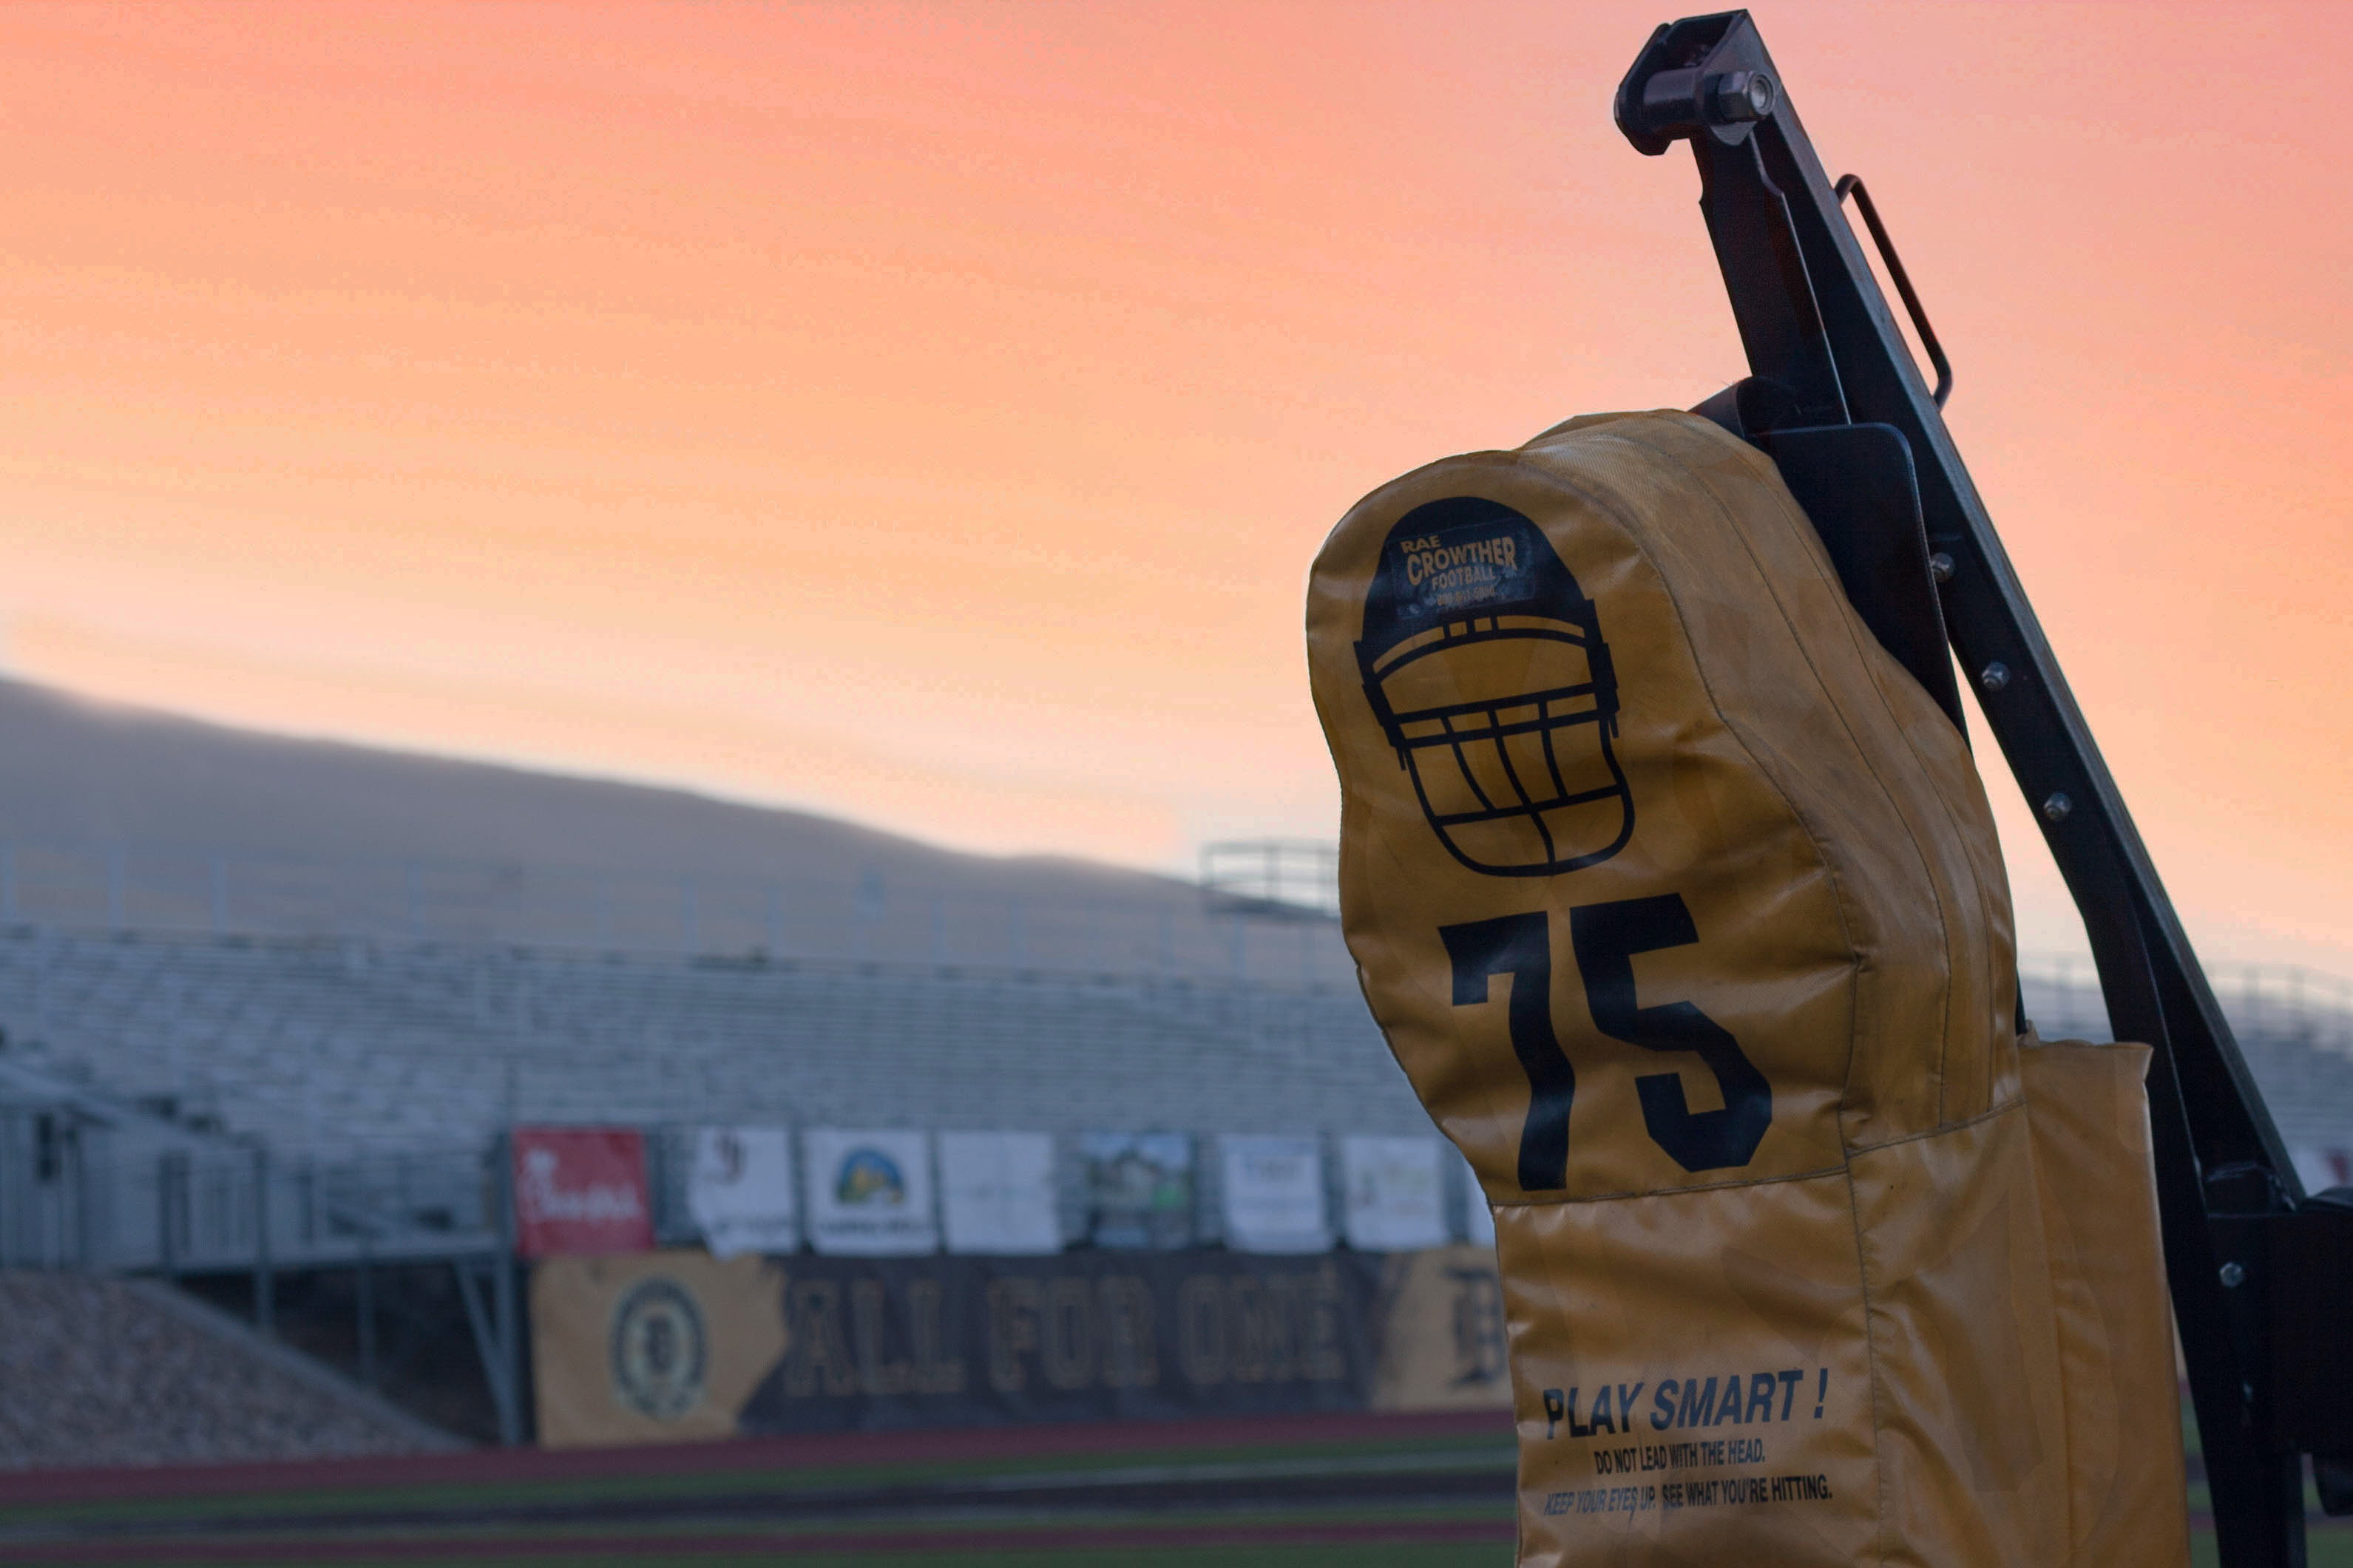
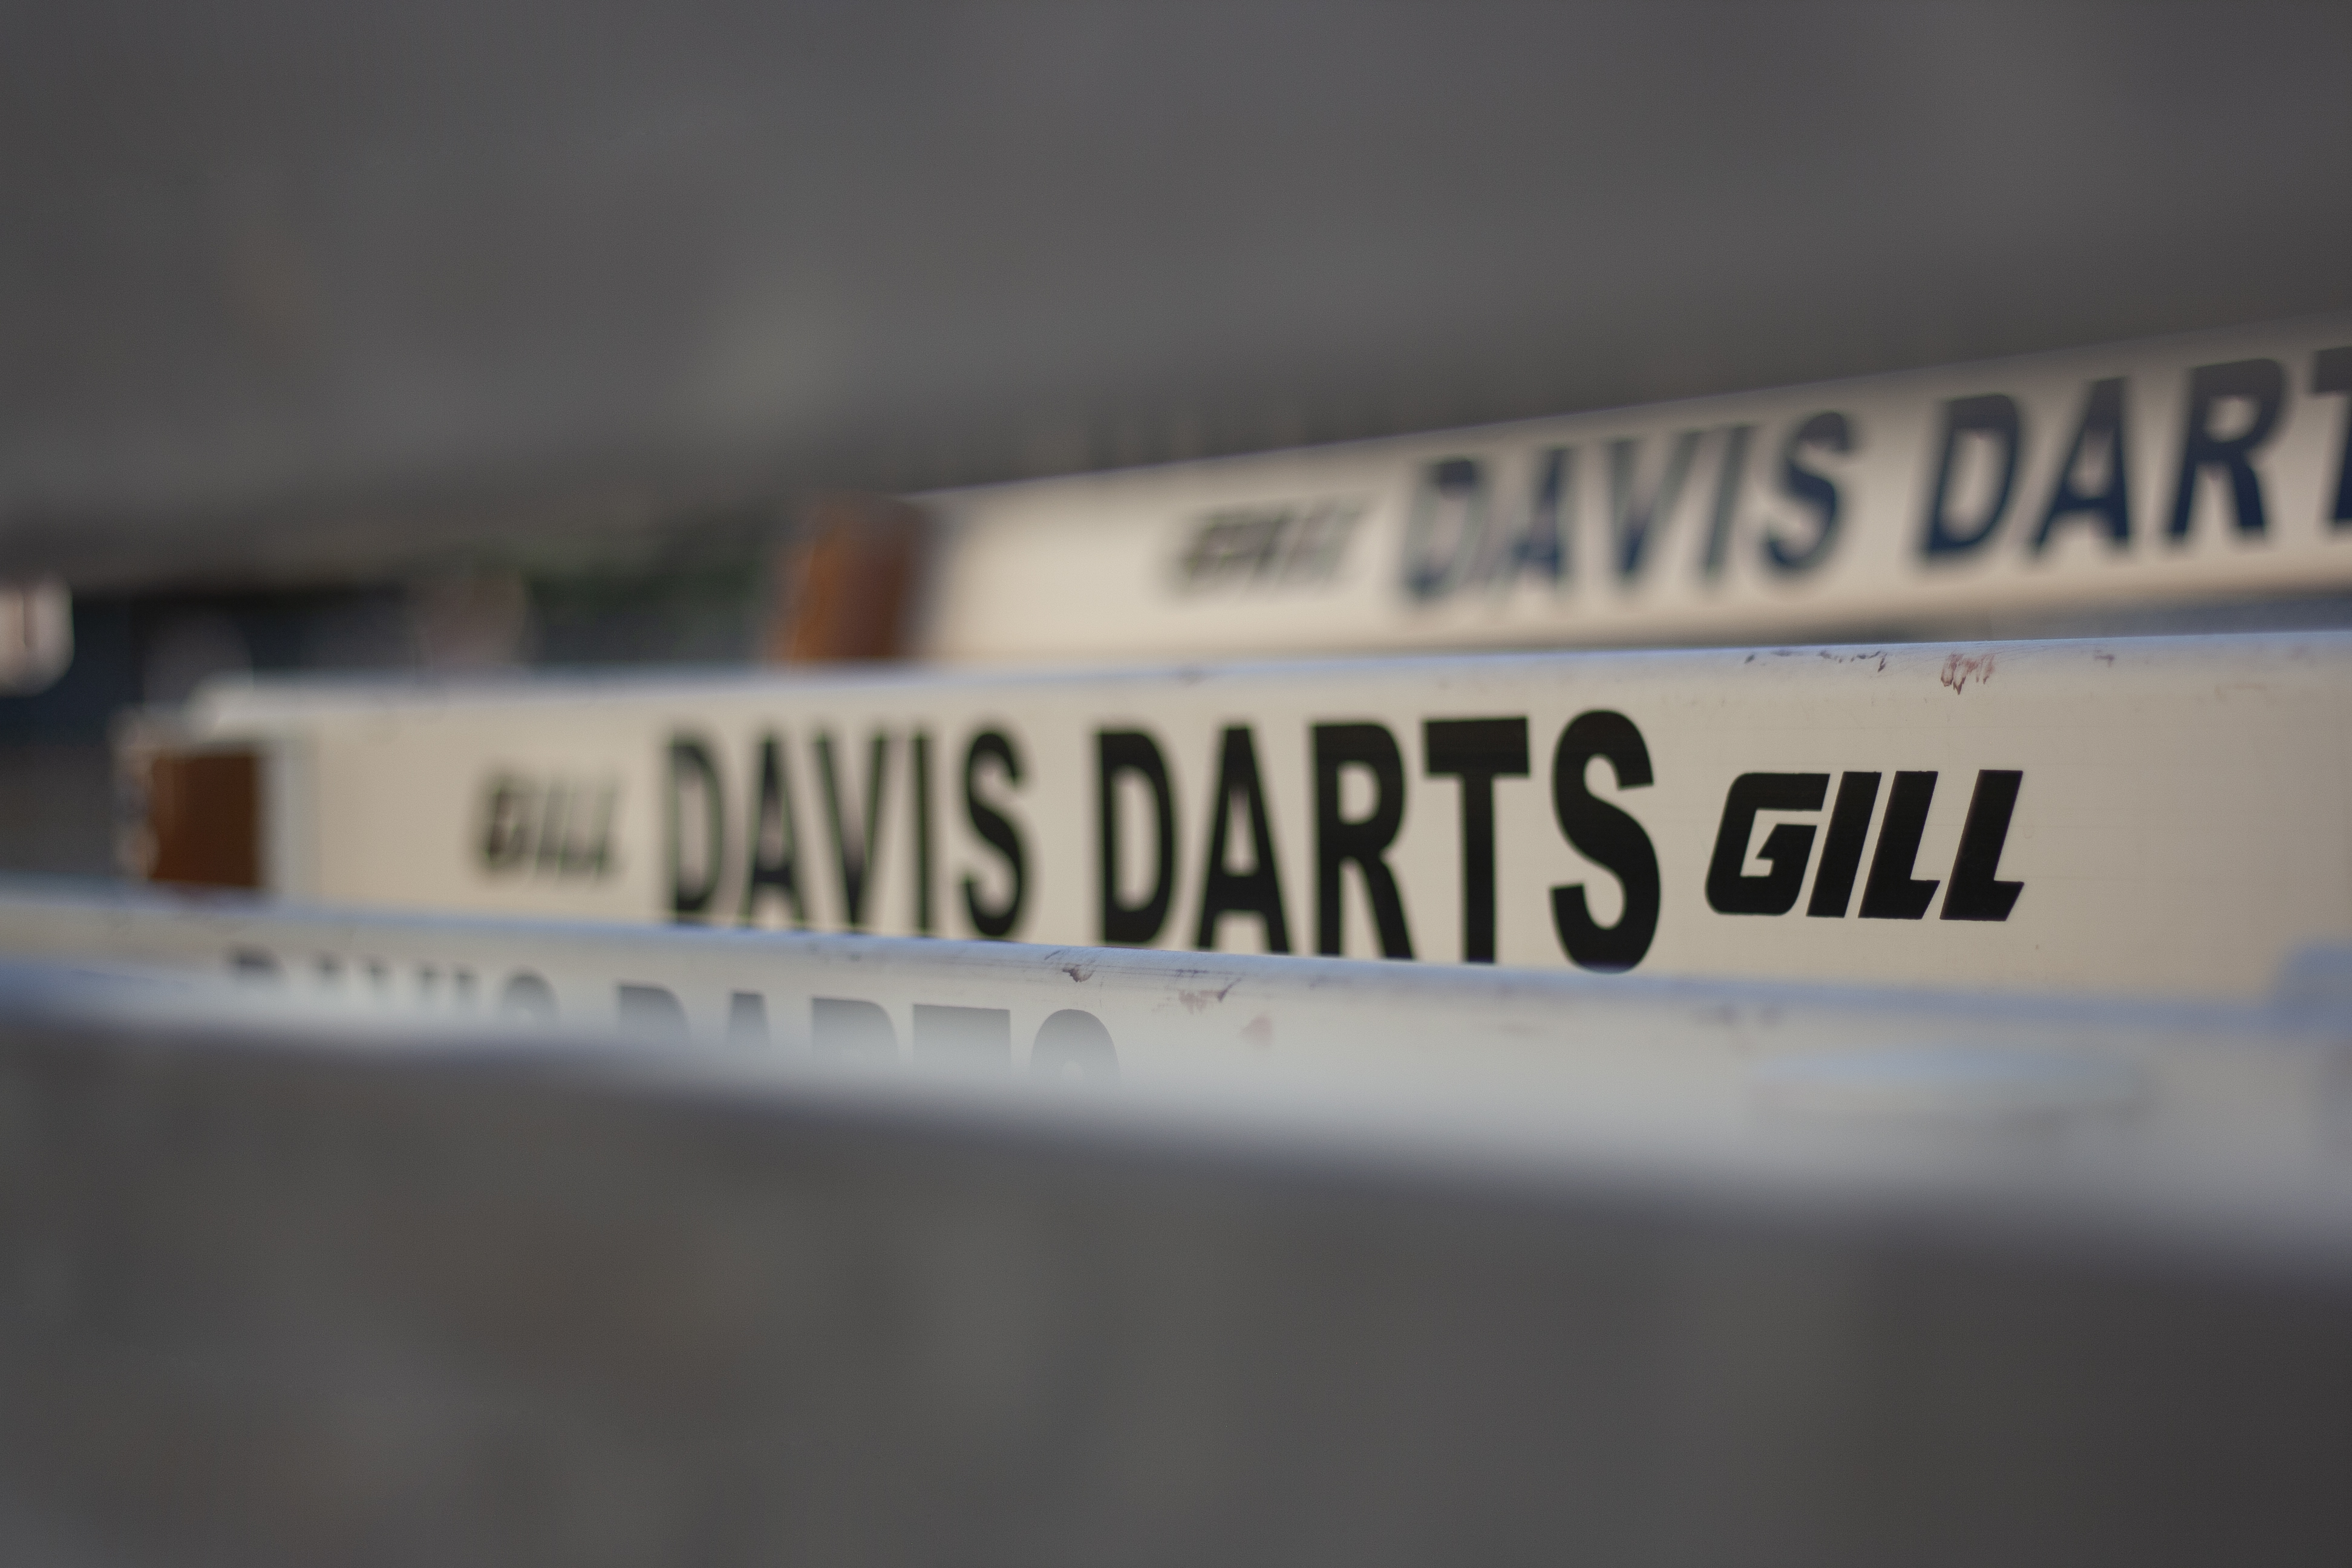
We were encouraged to enter a photo contest, which who knew there could be so many benefits from them. You can win prizes like new lenses, merchandise, money, etc.
I entered into my city contest but unfortunately I never got any contact from the city whether or not I was accepted which was rather disappointing because I felt that I had a pretty bold submission. I entered in the community category and anyone who has lived in Davis County knows how big Davis High School is with sports. So I decided to highlight that and submitted two of my favorite photos.